I directed him to my Pinterest board to give me a few ideas and then off I went!

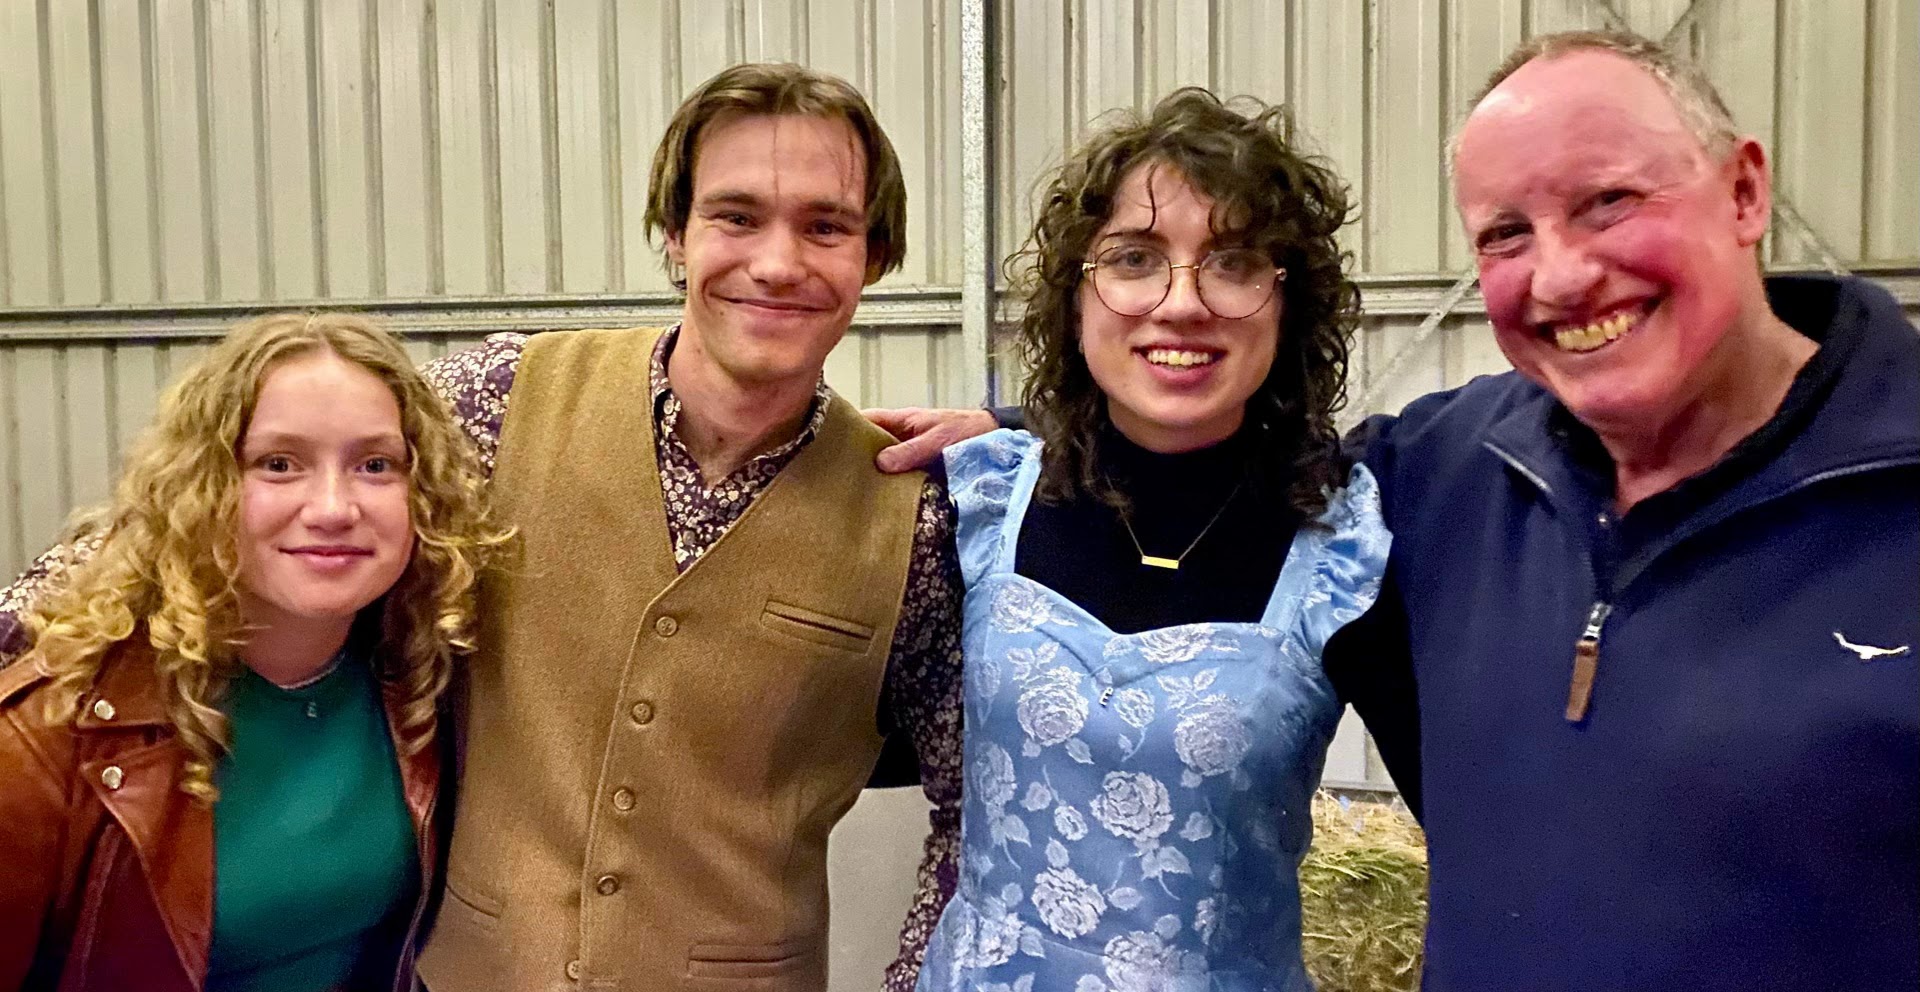
First up, the shirt.


I have made Hugo over 18 of these bad boys.

I found the Japanese lawn on an Australian website (I can't seem to find it again) I originally purchased 2 metres in the purple colour way for Ben, 2.5 m of a pink for Jed and a few fat quarters of the stone for collars and trims for both.

Unfortunately the material was so narrow I had to dip into all of the fabric cuts to finish Ben's shirt.

After much consideration I decided to cut the back panel from the pink as I figured in a more formal setting one would be wearing a waistcoat or blazer and the 'patchwork' would be hidden.

Although a very lovely print it ended up being more expensive (fabric usage) than Liberty!

Mother of pearl buttons always give a fine finish.

All that aside, I was really happy with the shirt until he tried it on...

Ben's chest measurement put him in a Small so that is the size I drafted and sewed. The fit was perfect across the back and waist but....

The jolly arms were too short!!!!!
Honestly, I never even considered that. He was terribly sweet and assured me he likes to roll his sleeves anyway but after the fabric shortage issue I was so annoyed with myself. I immediately altered the pattern adding two inches to the sleeves so we are good to go next time.

Next, trousers.
Another Keller-men tried and true. Jedediah pants

Again, Ben measured the smallest size BUT this time I double checked his leg length.
I wasn't too worried here, Jedediah have long legs, I cut 10 inches off to make Jed and Hugo's.

I chose a brushed, peach skin drill and omitted fancy top stitching to make a dressier trouser.

Leaving off the top stitching makes a quicker sew.

These trousers have such a nice finish.


Finally, the waistcoat.
Another Keller favourite Lekala #6063

I do like a chap in a waistcoat!


This is a classic waistcoat style with good ease and three welt pockets.
I finished it with tortoiseshell buttons (but purposely didn't cut the lower button so it couldn't be done up)

I prefer a buckle and strap rather than a knot. It sits flatter to the small of the back, looks snappy and give me a chance to use one of the vintage buckles that I have been given over the years.

I prefer to use a stretch satin for the lining. It has greater ease for comfort and looks more luxurious.

If you are using a quality wool fabric for the main and taking your time with welt pockets why not make the whole garment as beautiful as possible?

I swear by this video to sew my welts.

Proper dapper!


Thank you for reading ... xx Nicole